
Here in Missouri, we’re blessed with four beautiful seasons — but with those seasonal changes comes the responsibility of protecting your home. Just as you wouldn’t wear shorts and flip-flops during a St. Louis January, your home needs the right preparation for winter weather, especially when it comes to protecting your plumbing.
Understanding the Freeze Risk
Frozen pipes can quickly turn from an inconvenience into a homeowner’s nightmare, particularly when those frozen pipes begin to thaw. Three key factors determine your risk of frozen pipes:
- Temperature: While water freezes at 32 degrees Fahrenheit, your pipes typically won’t freeze until outdoor temperatures drop below 20 degrees. However, wind chill can accelerate the freezing process.
- Location: Pipes in unheated areas like basements, attics, and crawl spaces are particularly vulnerable. Plumbing in outer walls, closest to outdoor temperatures, faces the highest risk.
- Insulation Quality: Your home’s insulation is its primary defense against cold. Insufficient insulation, drafty areas, or wall cracks can allow cold air to penetrate and affect your plumbing.
10 Steps to Prevent Outdoor Faucets from Freezing
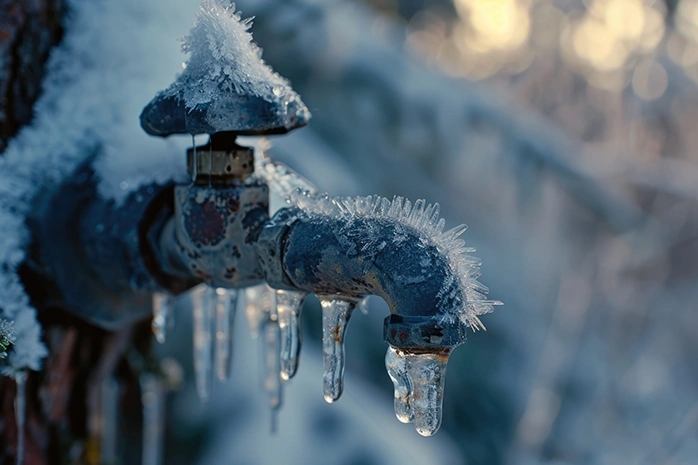
Your indoor pipes enjoy the same warmth you do, sheltered by your home’s heating system. However, outdoor plumbing faces nature’s full force. As St. Louis temperatures drop below freezing, unprotected water lines can freeze and rupture, potentially flooding your property.
Here are ten tips on how to winterize all your outdoor water features – faucets, garden sinks, BBQ stations, fountains, and outdoor showers – before winter takes hold.
Step 1: Locate the Main Water Shut-off Valve
Knowing where the main water supply shut-off valve is located inside your home is the first and most important step! That’s because if pipes freeze and crack during cold weather, you may not know it until temperatures warm up again. If you know where the main water supply shut-off valve is in your home, you can respond quickly.
Step 2: Remove Garden Hoses
Disconnect hoses. That garden hose you used all summer to wash your cars and water the lawn needs to be unhooked from your outside faucet and stored in your garage or basement. Leaving hoses outside in freezing temperatures will shorten their lifespan.
Step 3: Shut Off Outdoor Water Supply
Turn off the water supply to your outdoor faucets. The valve will be near the outside wall. Turn the handle clockwise until it stops. If the valve has a lever, turn it so that it’s perpendicular to the pipe. When a lever is parallel to a pipe that means it is open.
Step 4: Drain All Water Lines
Drain all the water from the spigot and the water pipe. You want to be certain that there is no residual water left behind, because it could freeze and expand, potentially rupturing the pipe. If water continues to drip even after the valve is completely closed, you probably have a leaky valve and will need to replace it before moving on to the next step.
Step 5: Install Faucet Covers
Cover your outside faucets and hose bibs securely. Foam faucet covers can be found at hardware stores and provide an extra layer of protection against freezing pipes.
Step 6: Insulate Exposed Pipes
Insulate any exposed pipes that lead to your outdoor faucets. Foam insulation will protect plumbing the same way outdoor faucet covers protect spigots.
Step 7: Seal Wall Cracks
Seal any cracks in your exterior walls, especially where service lines enter your home.
Step 8: Add Interior Insulation
Add insulation to your attic, crawl space, and basement to help protect your home’s pipes from freezing temperatures. You can also wrap pipes in heating tape or pipe insulation.
Step 9: Improve Air Circulation
During the coldest months of the year, it can help to leave the cabinet doors under your kitchen and bathroom sinks open to let warmer air circulate around those water pipes.
Step 10: Monitor Weather Conditions
Pay attention to weather forecasts. If you see that the temperature will be dropping to 20 degrees or below, turn on your faucets just a bit so that water trickles from the pipes. This helps keep water moving so that it won’t pool and freeze inside the pipes.
Bonus Tip: Consider purchasing freeze-proof or frost-free faucets online or at your local hardware store. These frost-proof faucets are manufactured to function properly in year-round temperatures without freezing so you won’t have to follow these 10 steps every fall.
Leave it to the Experts at Maplewood Plumbing
Don’t wait until frozen pipes turn into a costly disaster. Hidden cracks and weakened pipes can unleash serious water damage once they thaw — even if everything looks fine on the surface.
At Maplewood Plumbing and Sewer, we use specialized equipment to safely thaw your pipes and catch problems before they start. Our experts will thoroughly inspect your entire system, from basement pipes to outdoor spigots, making sure freezing hasn’t compromised their strength or integrity. Let us help protect your home. We’ll not only fix current issues but also freeze-proof your pipes to prevent future headaches. One call to our team could save you from expensive water damage down the road.
Don’t Wait for Your Outdoor Faucets to Freeze…
If you have a slow moving or clogged drain in your home, don’t wait for the problem to get worse! Call Maplewood Plumbing to schedule a camera drain inspection today!
Frequently Asked Questions
Quick answers about protecting your outdoor faucets from freezing.
What temperature do outside faucets freeze?
While water technically freezes at 32°F, your outdoor pipes and faucets typically won’t freeze until outdoor temperatures drop below 20°F. The exact threshold depends on several factors, including how long the cold snap lasts, whether the faucet is on an exposed wall or a sheltered one, and whether there’s any wind chill. Pipes along exterior walls or in unheated spaces like crawl spaces and attics are at the highest risk.
How to protect your outside faucets from freezing?
There are several key steps to winterize your outdoor faucets. Start by disconnecting and storing all garden hoses. Then, locate the interior shut-off valve for each outdoor faucet and turn it off by rotating the handle clockwise. Next, open the outdoor spigot to drain any remaining water from the pipe — even a small amount of leftover water can freeze, expand, and crack the pipe. Once drained, install foam faucet covers (available at any hardware store) over each outdoor spigot for added insulation. If you want a long-term solution, consider having a plumber install frost-proof faucets, which are designed to function in freezing temperatures without these extra steps.
How to tell if outside faucet is frozen?
Look for a few telltale signs. If you turn on the faucet and only a trickle comes out (or nothing at all) the pipe is likely frozen. Visible frost on an exposed pipe near the faucet is another clear indicator. You may also notice standing water or wet spots near the foundation that shouldn’t be there. Feel the pipes if they’re accessible; frozen pipes will feel extremely cold to the touch and may even bulge. If you suspect a frozen pipe, contact a professional plumber right away.
What happens if outside faucets freeze?
When water inside a pipe freezes, it expands and puts enormous pressure on the pipe walls. This pressure can crack or burst the pipe, regardless of whether it’s plastic or metal. The damage often isn’t obvious right away. Many homeowners don’t discover a cracked pipe until temperatures warm up and the ice thaws, releasing water that can flood your yard, foundation, or interior walls. The resulting water damage can be severe and expensive to repair, including ruined flooring, damaged drywall, and even compromised electrical systems. That’s why prevention and quick action at the first sign of freezing are so important.
Comments are closed